Anchoring is a complex art form that requires knowing a bit of the theory and then practicing every chance you get. Unfortunately, most boaters know little about the subject until they take off on their first big voyage. Even still, many travelers spend most of their time tied to docks.
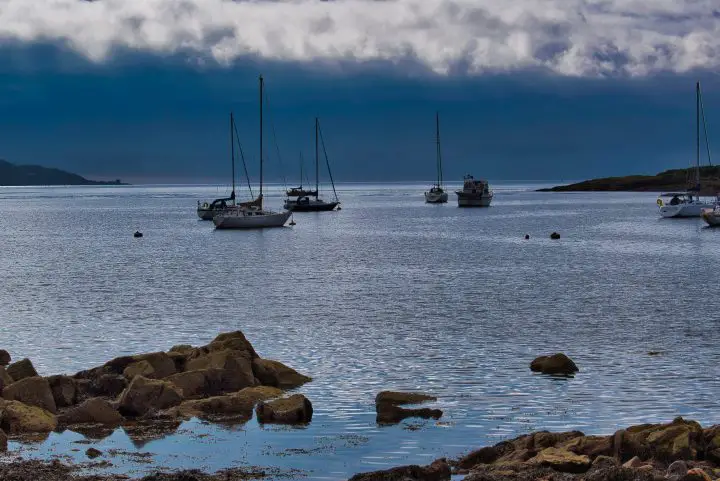
There’s an entirely different level of importance given to throwing out a lunch hook next to a pretty beach and anchoring for the night when strong winds are in the forecast.
You’ll often hear horror stories of boaters dragging anchor during their first big blows at anchor. New cruisers often have one or two scary experiences before they hone their anchoring skills. Put simply, it’s a School of Hard Knocks out there—you figure out by doing, and sound advice and practical experience in advance are hard to come by.
It doesn’t help that many of the factors that go into anchoring appear neat and tidy on paper. In the real world, they are not neat and tidy.
Table of Contents
- Two Rules for Successful Anchoring — How Not to Drag Anchor
- Why Do You Need to Mark Your Anchor Line?
- How Much Scope Do I Need to Anchor?
- Why is it Important to Mark Your Anchor Chain?
- Ways of Marking Anchor Chain
- Coming Up with a System for Marking Anchor Rode Chain Links
- Chain Counters
- Anchoring Doesn’t Have to Be a Drag
- FAQs – Marking Anchor Chain
Two Rules for Successful Anchoring — How Not to Drag Anchor
There are many things you need to do to anchor your boat securely. But there are two things that every boater can do that will reduce their likelihood of dragging anchor immensely. Simply:
- Put out enough rode, and
- Ensure the anchor is set correctly.
Many other things get more attention than these simple two items. For example, many boaters put all of the emphasis on the type and size of anchor they’re using. Of course, this can make a huge difference. Modern anchors are enormously effective. But so are traditional ones when used correctly!
Any anchor will hold well if it is appropriately set. True, a modern anchor may set quicker and in a wider variety of bottoms. But every anchor, no matter how they are marketed, has limits that the skipper needs to know.
There’s an old axiom that a cruiser can never have too big an anchor. It’s a good rule to live by, although perhaps “the biggest anchor that fits on your boat” would be better. You still need to be able to lift and handle the anchor, and it must fit securely on your bow roller.
And then, some questions arise from the location–and the type of seafloor. There are certainly many places where you should not try to anchor. But if you go back to those first two critical rules, if you’re unable to set the anchor properly, you can move on to a better spot before you get yourself in trouble.
Why Do You Need to Mark Your Anchor Line?
Putting out enough rode is step one. Again, it’s something that sounds super easy. But from the pitching deck of a boat in a tight anchorage, it gets challenging quickly. Add in the fact that most people do not mark their anchor chains, and it becomes impossible.
Putting out enough anchor rode is a two-pronged process. First, you need to calculate how much is “enough.” Second—and this is the most often overlooked part—you need to measure to ensure that you’ve actually done what you said you were going to do!
Basically, you need some foolproof way to know how much line or chain you’ve put out. The line must be marked.
How Much Scope Do I Need to Anchor?
The line, chain, or both connecting your anchor to the boat is the rode. Together with the anchor, it forms your ground tackle.
Scope is the angle at which your rode lies to the seafloor. Anchors work best when they are pulled on from a shallow angle. After the anchor is set, it will become unhooked if you pull straight up (toward the water’s surface). This is, after all, how you recover the anchor when you leave.
To figure out the correct angle, you need to know how far the anchor roller is from the seafloor. Take the water depth and add the freeboard of your bow. If you drop the anchor in 10 feet of water, and your bow roller is 3 feet off of the water’s surface, your math looks something like this.
10 feet deep + 3 feet freeboard = 13 feet
But wait! What if you’re in an area with 6-foot tides, and you came in at low tide? That could make a huge difference. So always correct your calculations to be at the highest tide you’ll encounter while anchored there.
16 feet deep + 3 feet freeboard = 19 feet
The scope of your anchor rode is expressed as a ratio—1 foot of rode for every 1 foot of water depth would be 1:1 and therefore directly over the anchor. Therefore, the minimum scope recommended for most situations is 5:1.
Minimum Scope for Various Anchoring Scenarios
| Type of Anchoring | All-Chain Rode | Nylon Rode |
| Lunch hook (staying onboard) | 3:1 | 5:1 |
| Overnight (or leaving the boat) | 5:1 | 7:1 |
| Storms | 7:1 or more | 10:1 or more |
So from our example above, for an overnight stop in the example above, the math would look like this.
16 feet deep (at high tide) + 3 feet freeboard = 19 feet * 7 = 133 feet of rode for a standard night
(or 19 feet * 10 = 190 feet of rode if weather is expected)
Why is it Important to Mark Your Anchor Chain?
So now you have an idea of how much line you should put out, but the hard part comes in doing it. From the bow of your boat, it’s impossible to estimate how much line has passed over the roller. Any estimate based on time or drift distance is wildly inaccurate. Even your GPS is unlikely to help since it’s tough to get accurate measurements to work while also tinkering with your ground tackle.
There are only two sure-fire ways to know—mark the chain and count the marks or rely on a chain counter. Counters are rare on most cruising boats, but they make a tempting upgrade.
Ways of Marking Anchor Chain
All of this may be neither here nor there if you just need to know how to mark an anchor chain. Anchor chain marking is harder than it sounds because our ground tackle lives a rough life. It’s dipped in saltwater and then piled in a heap. Rust comes and goes as it scrapes along the bottom, rubbing rocks and sand.
On the boat, it’s usually fed through a chain gypsy on a power windlass. It’s a powerful wheel that causes a lot of friction that will knock off pretty much any marking you make. So, what sort of anchor chain markers will survive the test of time?
Here are just a few of the anchor chain markings we’ve tried or seen over the years.
- Electrical tape
- Colored thread or whipping line
- Spray paint
- Enamel paint
- Commercially-available chain markers
- Colored zip ties/cable ties
- Nylon webbing or cloth ties
Each one of these methods has its own set of problems. Anything you put on your anchor chain has a very high likely hood of winding up in the ocean. This rules out tape, plastic markers, and cable ties for cruisers worried about plastic pollution in our oceans. That’s probably for the best since (at least in my personal experience) these fall off the quickest.
Spray painting the anchor chain has been a preferred method for most boaters. It’s a tough job that requires laying the chain out on the dock and measuring, then carefully cleaning the chain and painting it. The older and nastier your chain looks, the less luck you’ll have getting paint to stick. Cleaning the chain with a wire brush and soaking it in white vinegar should help you prepare it for paint.
You could apply thick enamel or epoxy paint to single chain links. This is good because it will go on much thicker than the spray paint. But it will also chip off easier and is just as susceptible to corrosion and rust from below. On the other hand, it might be easier to see.
Sewn-on flaps of nylon webbing are an excellent solution for those who often use their anchors. It provides a large and easily visible flag, and you could use multiple colors. Thanks to Sailing Totem for the idea via their Instagram page.
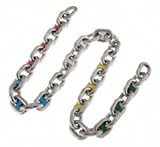
Coming Up with a System for Marking Anchor Rode Chain Links
Not only do you need to mark the anchor line or chain, you need a system to understand what the marks mean.
For example, if you spray paint a bright color every 20 feet of chain, you can count each time the color passes over the bow. But, what will happen in a year after the first 20-foot mark paint wore off? In poor light, or if you’re distracted, you might miss it entirely. All of a sudden, you’re putting out 60 feet instead of 40, or 80 instead of 60. At least it’s safe, but in tight anchorages, every extra foot might cost you friends.
The best systems are identifiable no matter where you are on the chain, so if you miss seeing one, you won’t lose count.
The Boat Galley recommends using spray paint but alternating red, white, and blue colors in a chain rainbow. I would only add that you’ll want to make sure you use bright, vibrant colors. I’ve found red is the hardest to see in low light, and it’s a little too close to the natural rusty color of a well-used chain. Consider using fluorescent paint colors if you can find them.
Chain Counters
Of course, there is a high-tech solution to the problem. Mechanical or electric chain counters use sensors mounted at the windlass to “count” the line that goes by. This one from Lewmar can be used with chain and nylon or all-chain rodes. It’s a simple digital display that you can mount at the helm.
The problem with this system, beyond the hassle and expense of installation, is the possibility of it failing. It is another system onboard the boat to maintain, and it will eventually stop working. Also, if you stand at the bow to let the rode out anyway, you might not be able to see the counter. Physically marking your chain fixes these issues from the get-go.
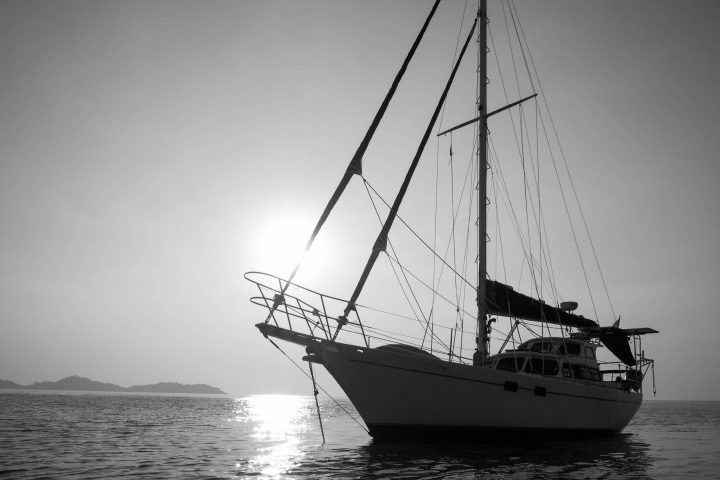
Anchoring Doesn’t Have to Be a Drag
Safe anchoring begins with these two cardinal rules—putting out the right amount of chain and setting the anchor properly. Learning to anchor your boat well enough to sleep comfortably at night—and ensure that other boats around you sleep comfortably—is a skill that will pay dividends while out cruising. It makes the difference between stressful nights and sleeping soundly. So please don’t rely solely on that fancy new brand-name anchor (although it is nice!) Learn the skills to get it set and work its best from the very beginning.
FAQs – Marking Anchor Chain
How do you mark a rode anchor rope?
You can mark rope in the same ways that you would mark chain. The most common methods would be with paint, plastic markers, plastic wire ties, colored whipping line, or nylon webbing markers. It’s actually easier to mark nylon rope as it puts significantly less stress on your markings, and they will last much longer than they would on a chain.
How long should the chain be on an anchor?
If you are rigging a chain and nylon anchor line, then the more chain you can add, the better it will work. The weight of the chain helps keep the angle that the load pulls on the anchor shallow, which will help keep it set. Exactly how much chain you use is up to you, but the effectiveness of the rope rode will go up with every foot you add. For overnight primary anchors, consider 25 feet a minimum number. Most serious traveling cruisers prefer to use all-chain anchor lines. You can get away with a little less chain for secondary anchors to make it easier to store.
On the other hand, figuring out how much chain or chain and rope to deploy is an exercise you should do every time you anchor. You should take the depth of the water at high tide, add your bow’s freeboard, and then multiply by the appropriate scope for the situation. A ratio of 7:1 is safe and appropriate for most situations except for storms and high winds.